Airtable is a web application that lets you construct a variety of spreadsheets without having to write any code. By dragging and dropping rows and columns, you can easily organize your data into Tables. Many firms have successfully adopted it in recent years due to its straightforward UI. Furthermore, Airtable has a number of tools that allow you to create fascinating spreadsheets, like File Storage, Document Management, Task Lists, Calendar Views, and more.
Go to the Airtable website and sign up. They do have a paid tier, but the free tier is more than enough and will probably last you a while. An activation email will be sent to you shortly. To activate your account, open the email and click the "Activate My Account" link.
Let's get started building our first base now that you've signed up. You should be directed to a screen that lists all of your current bases. I've already completed a few projects, which you can see here.
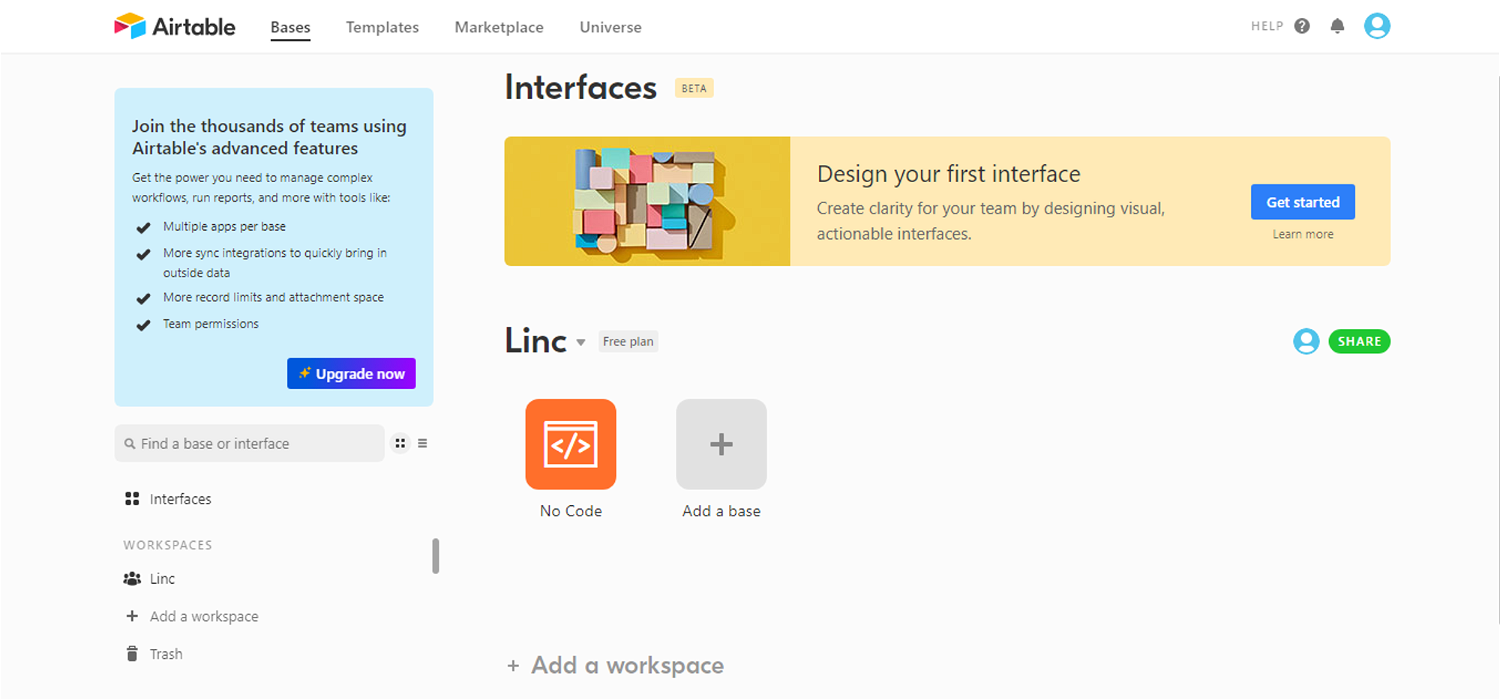
Click on “Add a base” to create a new base.
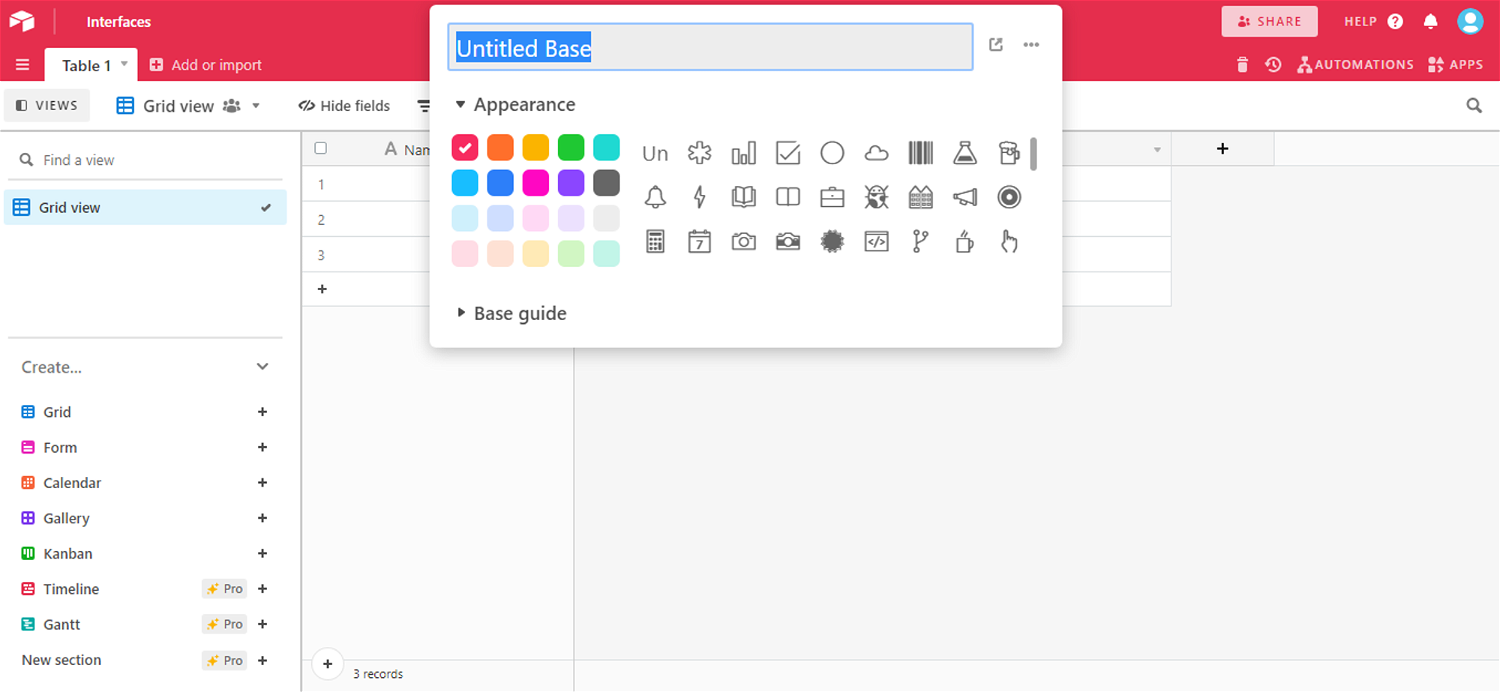
Give your new base a name.
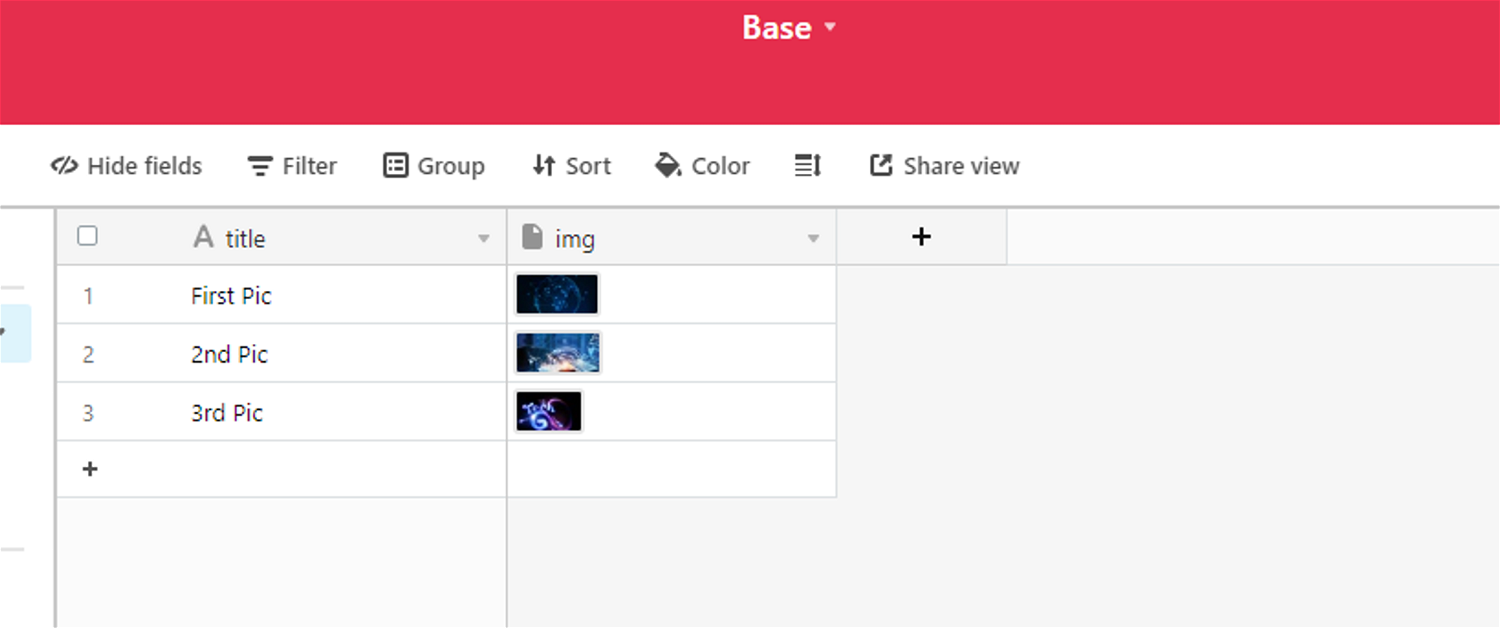
Customize the base named “Base” with a single line text called “title” and an attachment called “img” for images.
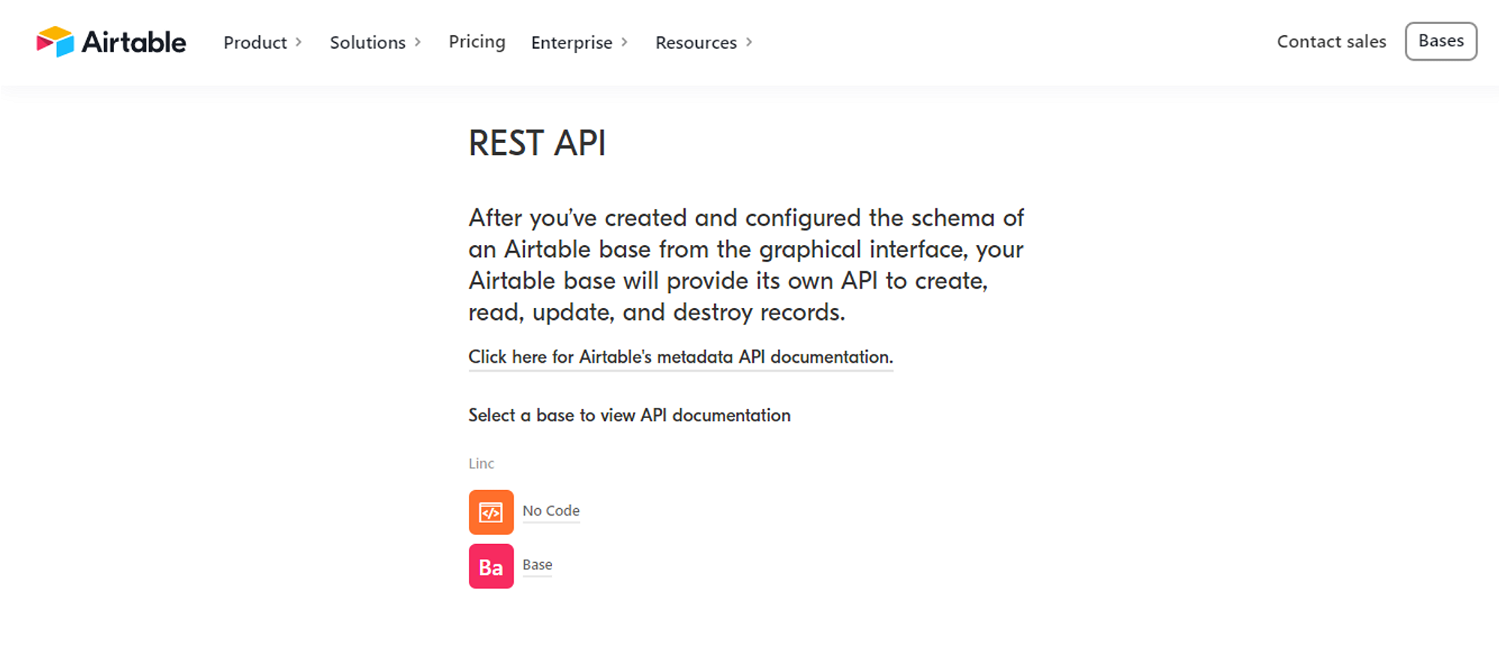
Now go to the Airtable API url, here.
Select the base that we generated a few minutes earlier from the drop-down menu. The best part is that the documentation will now be tailored to the data in that database.
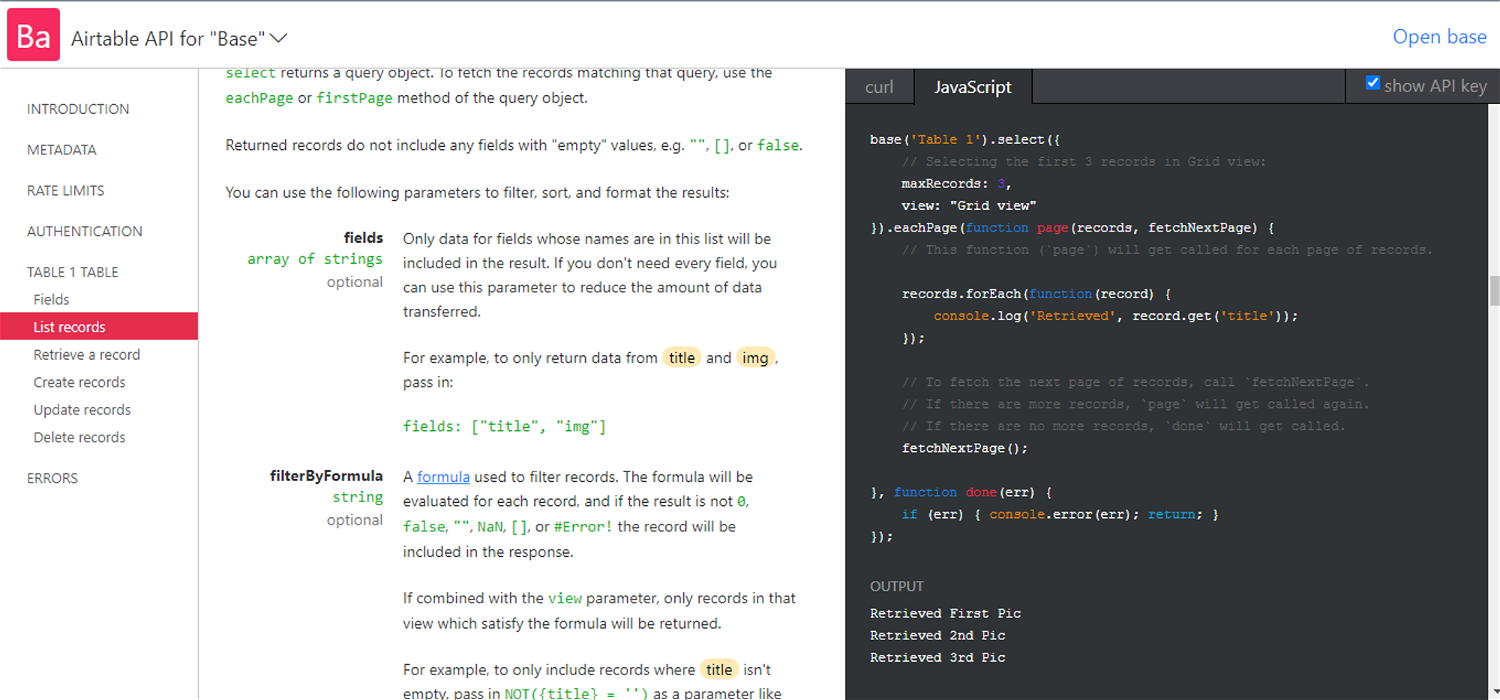
You'll need some form of secret credential to give along in your API queries for Airtable to verify it, just like with any other API. The private credential in this situation is an API Key. It will tell you a little bit more if you scroll down to the Authentication section.
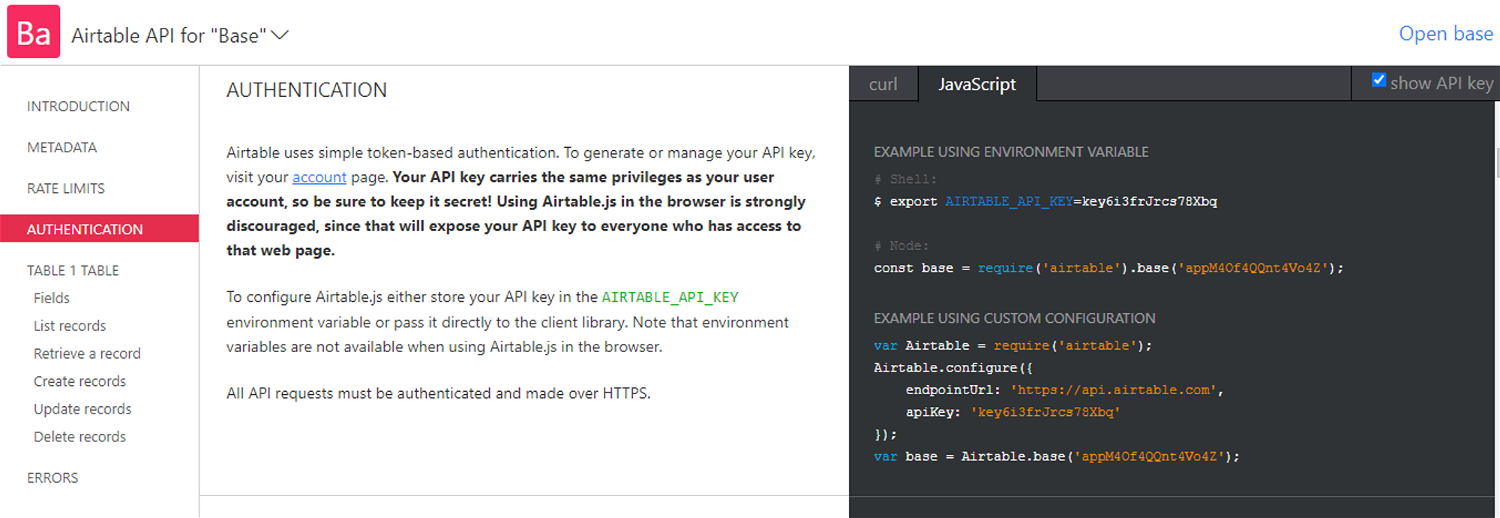
I've got the display API Key checkbox checked as we browse through the documents. This is one of the simplest methods for determining your key. The base and apikey are visible, however they will be removed before publication.
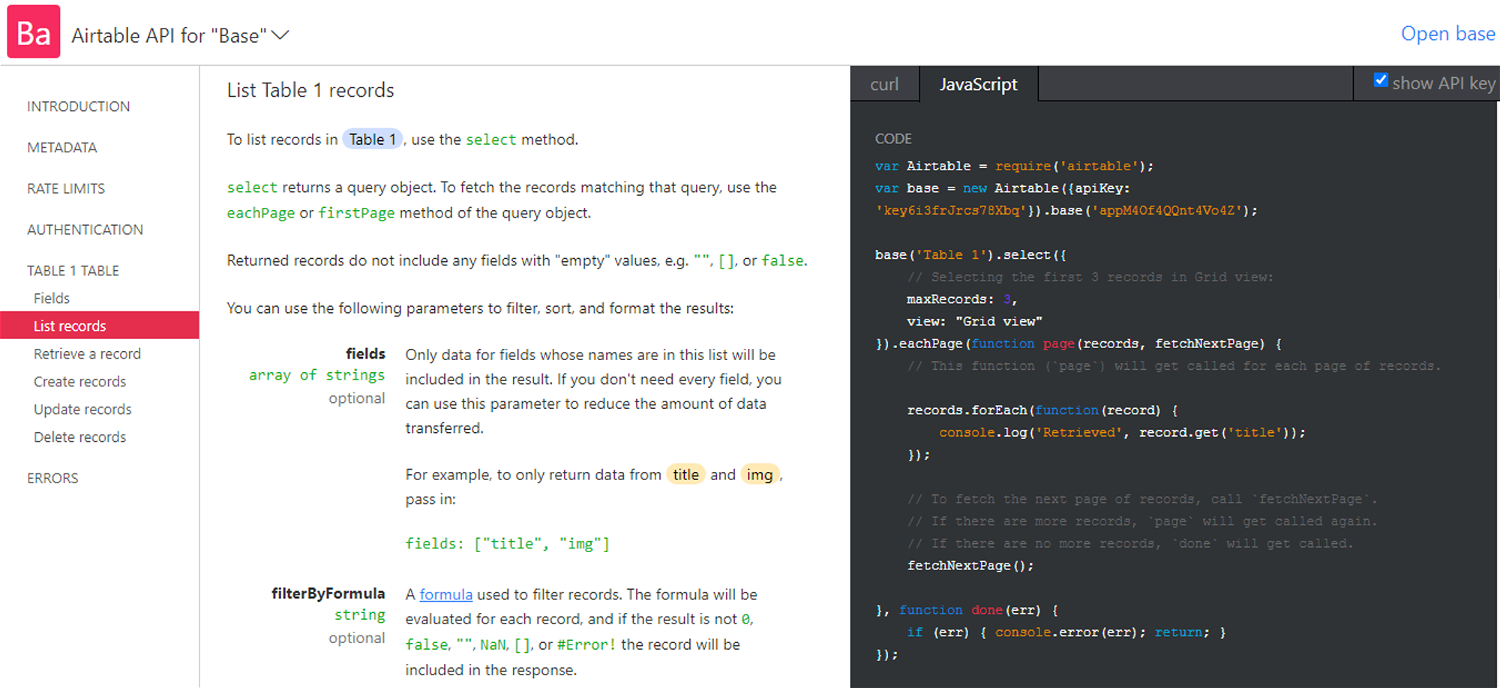
You may see an example of an HTTP request for retrieving a list of records by scrolling down to the List Records section.
Add the following code to your index.html.
<!DOCTYPE html>
<html lang="en">

  <head>
    <meta charset="UTF-8" />
    <meta name="viewport" content="width=device-width, initial-scale=1.0" />
    <meta http-equiv="X-UA-Compatible" content="ie=edge" />
    <link rel="stylesheet" href="style.css" />
    <title>Airtable</title>
  </head>

  <body onload="run()">
    <h1>Image Gallery</h1>

    <main>
      <div>
        <img src="" />
        <h3>Title</h3>
      </div>
    </main>

    <script src="script.js"></script>

  </body>
</html>
Add the following code to style.css.
@import url("https://fonts.googleapis.com/css2?family=Mukta&display=swap");

* {
	padding: 0;
	margin: 0;
	box-sizing: border-box;
	font-family: "Mukta", sans-serif;
}

body {
	width: 100%;
	min-height: 100vh;
	padding: 20px;
	justify-content: center;
	align-items: center;
}
main {
	display: flex;
	flex-wrap: wrap;
	justify-content: center;
	align-items: center;
}

div {
	padding: 20px;
	margin: 20px 10px;
	border: 2px solid black;
	width: max(300px, 90%);
}

img {
	width: 100%;
}
Add the following code to script.js
const main = document.querySelector("main");

async function run() {
	const res = await fetch(
		"https://api.airtable.com/v0/appM4Of4QQnt4Vo4Z/Table%201?maxRecords=3&view=Grid%20view",
		{
			headers: {
				Authorization: "Bearer key6i3frJrcs78Xbq"
			}
		}
	);
	if (res.ok) {
		let json = await res.json();
		let html = "";
		json.records.forEach((e) => {
			let content = `
      <div>
        <img src="${e.fields.img[0].url}"/>
        <h3>${e.fields.title}</h3>
      </div>
      `;
			html += content;
		});
		main.innerHTML = html;
	}
}
Alternatively, you can create the Airtable API using NoCodeAPI.

